25-06-11: Open-Web UIをローカルで立ち上げてみる
目次
Docker
# 古いパッケージ削除
sudo apt-get update
sudo apt-get remove docker docker-engine docker.io containerd runc

# 依存パッケージ導入
sudo apt-get install apt-transport-https ca-certificates curl gnupg lsb-release

# GPG鍵とリポジトリ登録
curl -fsSL https://download.docker.com/linux/ubuntu/gpg \
  | sudo gpg --dearmor -o /usr/share/keyrings/docker-archive-keyring.gpg

echo "deb [arch=$(dpkg --print-architecture) signed-by=/usr/share/keyrings/docker-archive-keyring.gpg] \
https://download.docker.com/linux/ubuntu $(lsb_release -cs) stable" \
  | sudo tee /etc/apt/sources.list.d/docker.list > /dev/null

# インストール
sudo apt-get update
sudo apt-get install docker-ce docker-ce-cli containerd.io docker-buildx-plugin docker-compose-plugin

# 非root実行ユーザー設定
sudo usermod -aG docker $USER
newgrp docker

# dockerサービルが動いていることの確認
systemctl status docker

# 動作確認
sudo docker run hello-world
$ sudo docker run hello-world
Unable to find image 'hello-world:latest' locally
latest: Pulling from library/hello-world
e6590344b1a5: Pull complete
Digest: sha256:940c619fbd418f9b2b1b63e25d8861f9cc1b46e3fc8b018ccfe8b78f19b8cc4f
Status: Downloaded newer image for hello-world:latest
Hello from Docker!
This message shows that your installation appears to be working correctly.
To generate this message, Docker took the following steps:
1. The Docker client contacted the Docker daemon.
2. The Docker daemon pulled the "hello-world" image from the Docker Hub.
(amd64)
3. The Docker daemon created a new container from that image which runs the
executable that produces the output you are currently reading.
4. The Docker daemon streamed that output to the Docker client, which sent it
to your terminal.
To try something more ambitious, you can run an Ubuntu container with:
$ docker run -it ubuntu bash
Share images, automate workflows, and more with a free Docker ID:
https://hub.docker.com/
For more examples and ideas, visit:
https://docs.docker.com/get-started/Hello from Docker! This message shows that your installation appears to be working correctly.
と出ているのでOK.
$ sudo docker ps -a
CONTAINER ID   IMAGE         COMMAND    CREATED         STATUS                     PORTS     NAMES
b585b0eb24c2   hello-world   "/hello"   3 minutes ago   Exited (0) 3 minutes ago             nervous_carver
docker環境立ち上げはOk.
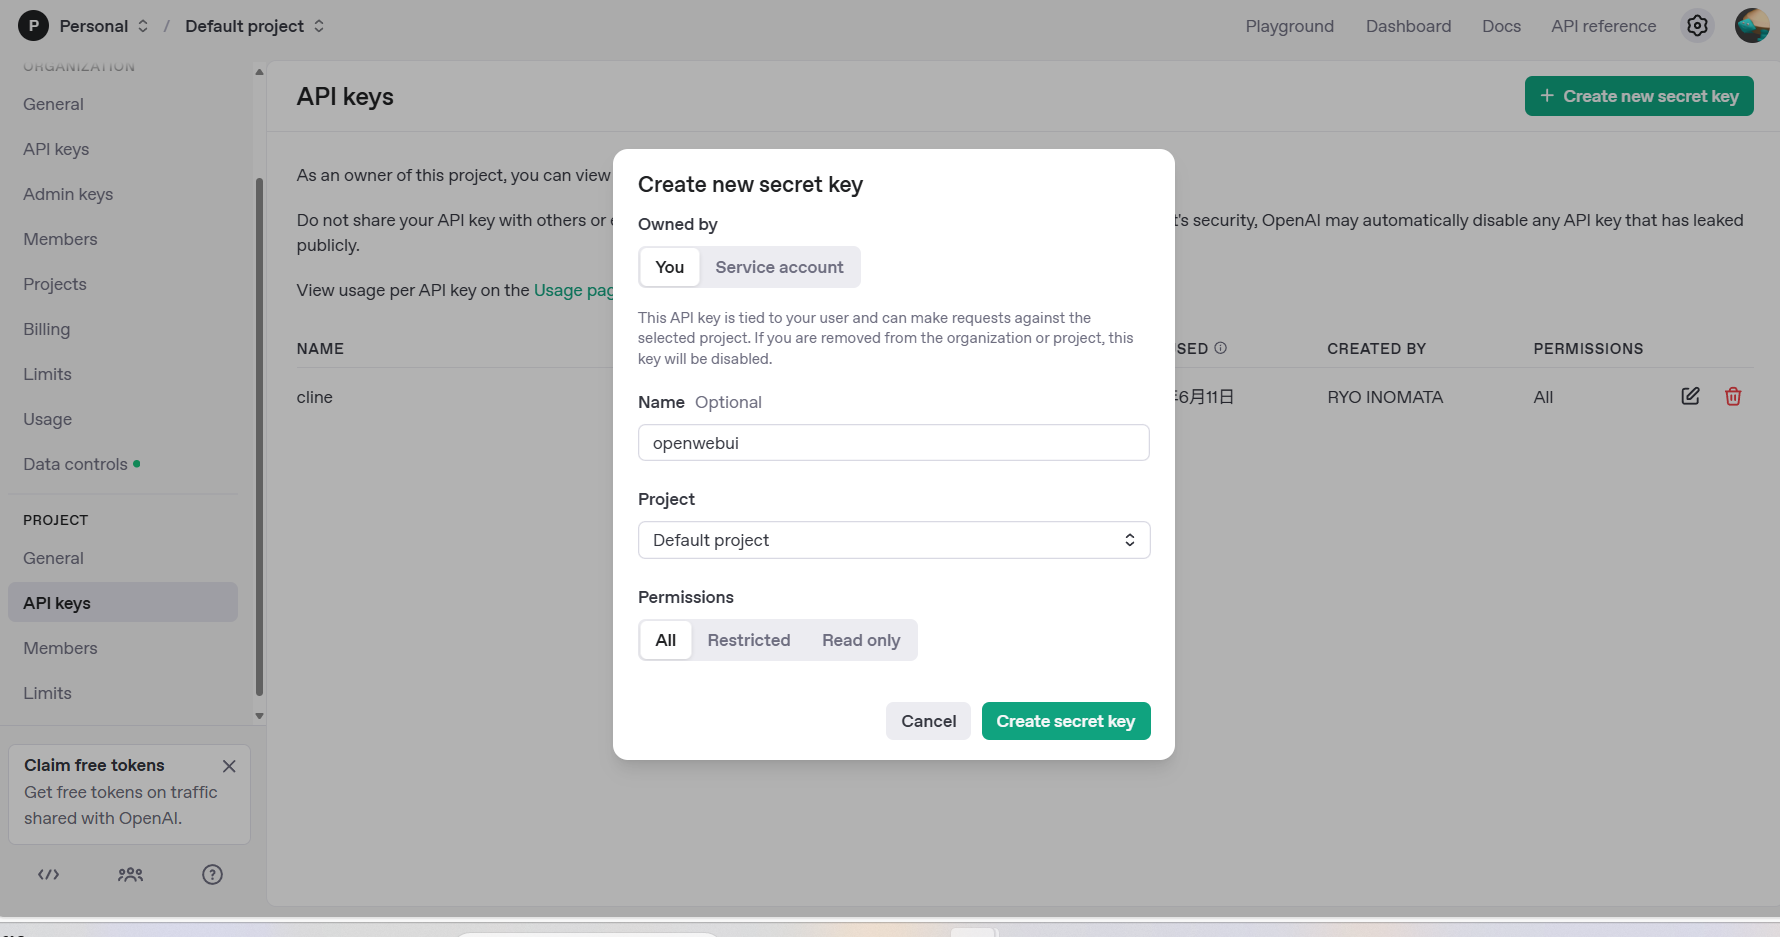
OpenAI のWebUIをローカルで立ち上げる
git clone https://github.com/open-webui/open-webui.git の中にdockerfileなどが入っていて,ビルドするイメージ。
git clone https://github.com/open-webui/open-webui.git
cd open-webui

# コードを編集(例:frontend/src/pages/Home.tsx)

# ビルド・起動
docker compose up --build -d

# コンテナログ確認(必要に応じて)
docker compose logs -f

# 修正後の再ビルド
docker compose down
docker compose up --build -d
ビルド完了
[+] Running 6/6
 ✔ open-webui                      Built                                                                                        0.0s
 ✔ Network open-webui_default      Created                                                                                      0.1s
 ✔ Volume "open-webui_open-webui"  Created                                                                                      0.0s
 ✔ Volume "open-webui_ollama"      Created                                                                                      0.0s
 ✔ Container ollama                Started                                                                                      2.0s
 ✔ Container open-webui            Started                                                                                      2.3s
動作確認
docker ps
CONTAINER ID IMAGE COMMAND CREATED STATUS PORTS NAMES
0d05d8aacf37 ghcr.io/open-webui/open-webui:main "bash start.sh" 3 days ago Up 3 days (healthy) 0.0.0.0:3000->8080/tcp, [::]:3000->8080/tcp open-webui
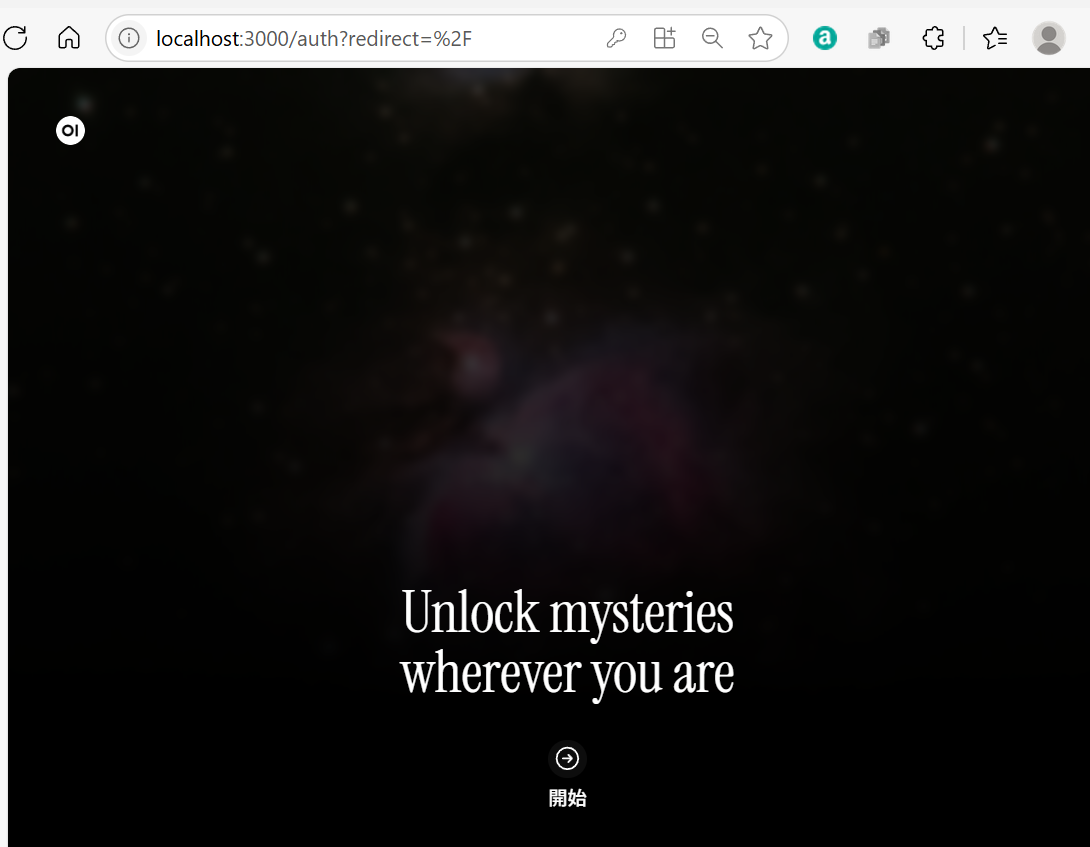
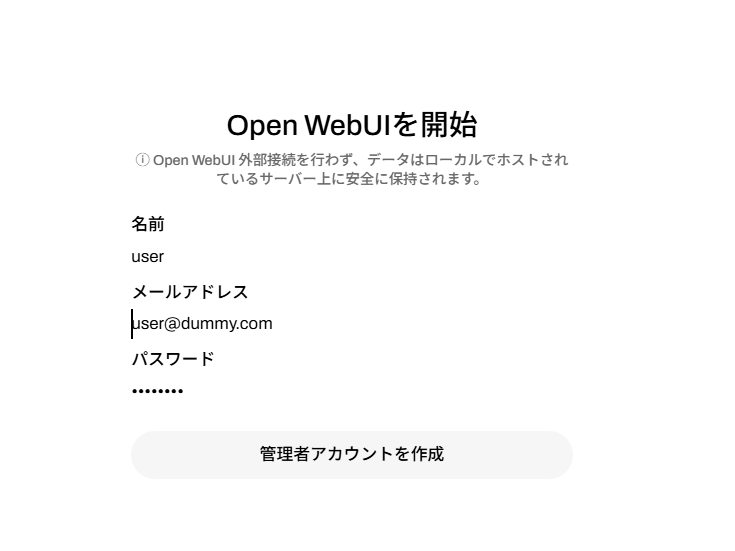
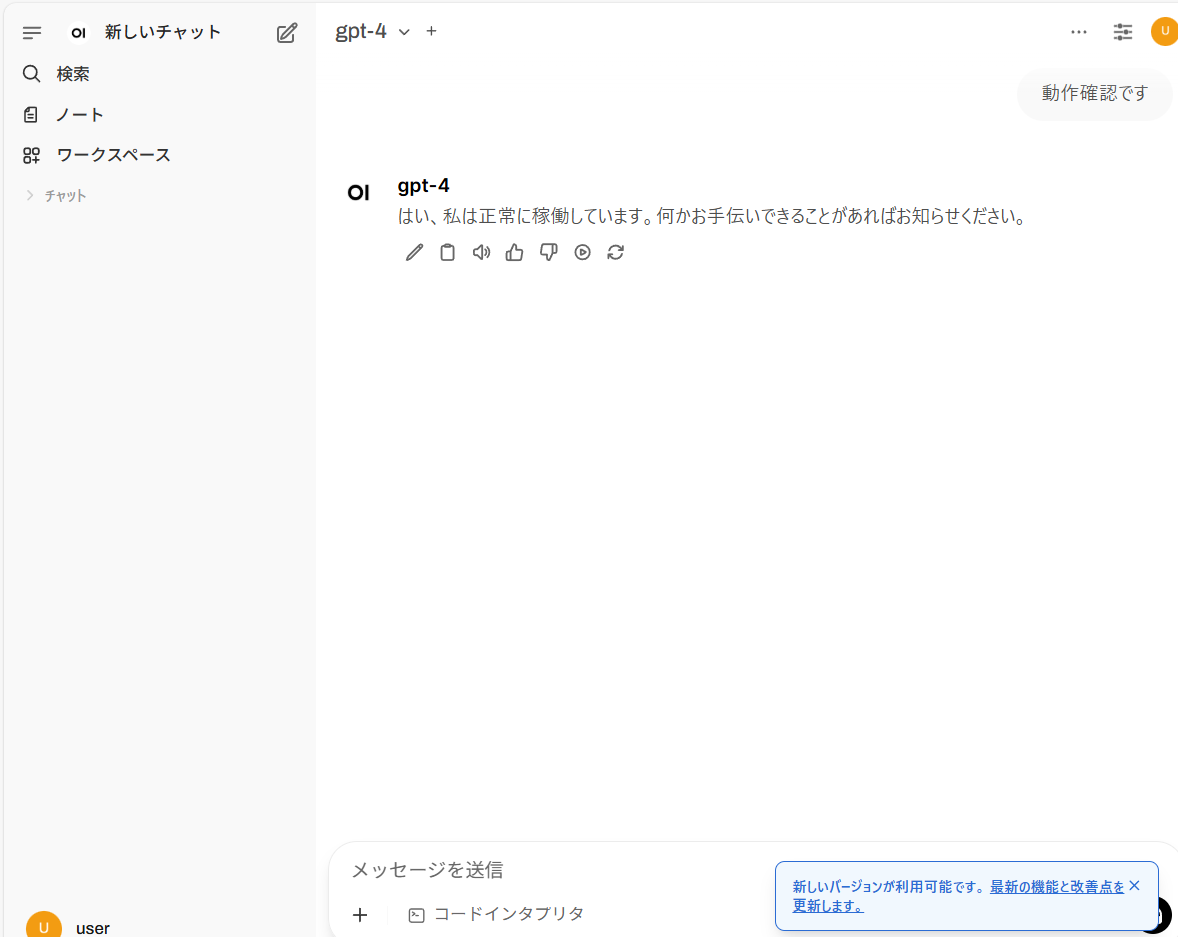
91241e4f85dc ollama/ollama:latest "/bin/ollama serve" 3 days ago Up 3 days 11434/tcp ollamalocalhost:3000です。
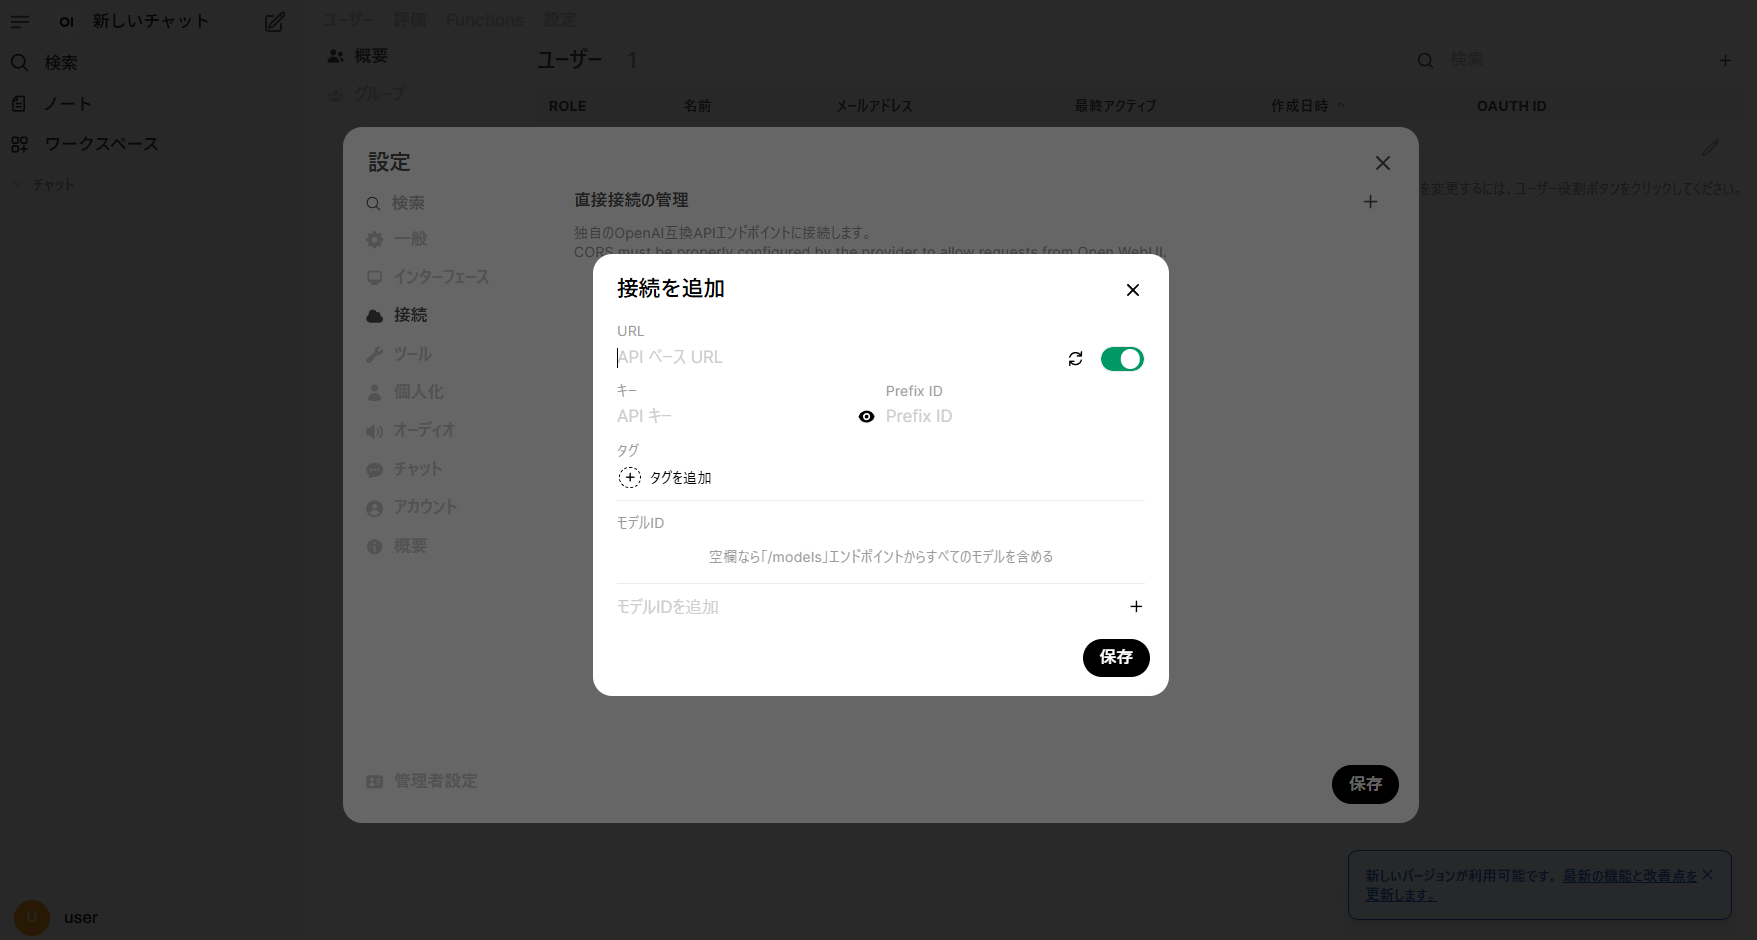
dockerの上で何がおこっている?
以下に、**Windows + WSL2 + Docker + Open-WebUI(サーバー+フロント)**の関係を、OSレベルでイメージできるように、UMLの構造図風に Mermaid で図示します。
✅ Mermaid(v11.4.1対応版)コンポーネント図風
graph BT
    OS[Windows] --> WSL[WSL2]
    WSL --> Docker[Docker Engine]
    Docker --> OWUI[Open-WebUI コンテナ]
    Docker --> Ollama[Ollama コンテナ]

    OWUI --> Frontend[Web Frontend - React]
    OWUI --> Backend[API Server - FastAPI]
    Backend --> LLM[Ollama API]
    Browser[Web Browser] --> Frontend

    style OS fill:#f9f,stroke:#333,stroke-width:1px
    style WSL fill:#bbf,stroke:#333,stroke-width:1px
    style Docker fill:#ccf,stroke:#333,stroke-width:1px
    style OWUI fill:#cfc,stroke:#333,stroke-width:1px
    style Ollama fill:#cfc,stroke:#333,stroke-width:1px
    style Browser fill:#ffe,stroke:#999,stroke-width:1px
📝 補足説明
| 要素 | 説明 |
|---|---|
| Windows | ホストOS。WSL2でLinux環境を仮想化 |
| WSL2 | Docker Engineの動作基盤となる |
| Docker Engine | Open-WebUIやOllamaのコンテナを起動 |
| Open-WebUI コンテナ | Web UIとAPIサーバを内包(1つのコンテナ) |
| Ollama コンテナ | LLMを実行する推論サーバ(例:llama3) |
| Web Browser | http://localhost:3000 にアクセスしてUI操作 |
この形式なら Hugo や他の Mermaid v11.4.1 対応環境でも問題なくレンダリング可能です。
必要であれば、次は「ボリューム」「ネットワークブリッジ」「envファイルと設定の流れ」なども図にできます。ご希望ありますか?
🔁 通信の流れ(ざっくり)
- ユーザーのブラウザ →
http://localhost:3000にアクセス - React WebUI → FastAPI(Open-WebUI バックエンド)と通信
- FastAPI → Ollama(LLMエンジン)にクエリ送信
- Ollama → 推論結果を返す → UIに表示
この構成をイメージしておくと、どこを改造すればよいか(例:UIかAPIかLLMか)判断しやすくなります。
もっと詳細な図(ポート番号やデータフロー付き)も作成可能です。必要ですか?